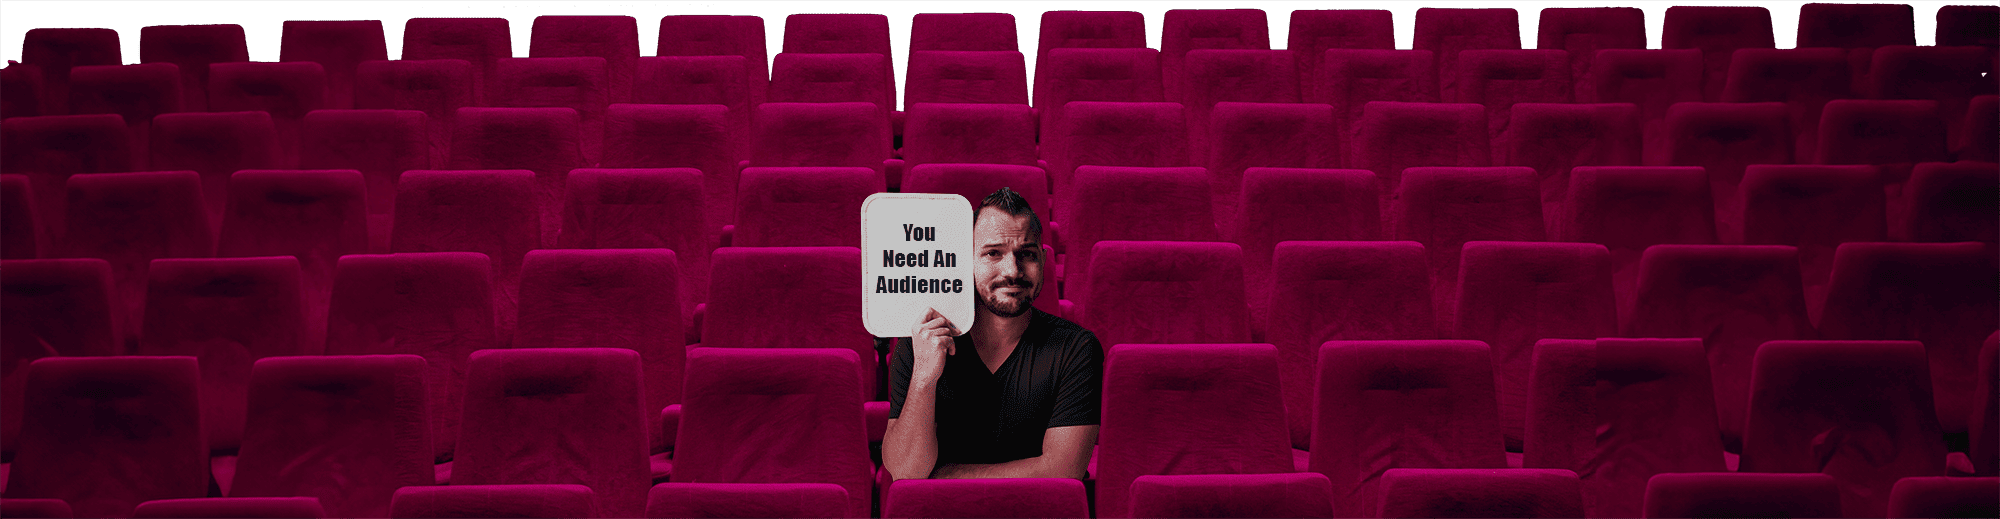
After the camera and microphone, lights are the most important pieces of any studio. Learning how to light your subject well will be the next key to producing video (and photos) with a professional level of quality.
I’ve been working with a variety of professional and prosumer light kits for work over the last few years we have grown our media department at Bethany Global University. I’ve also been experimenting with super inexpensive budget lights for my DIY home studio. Below are my recommendations for travel and three different studio solutions to fit your budget.
Travel & Vlogging Light
If I only had one light for anything, it would certainly be the Neewer Dimmable 176 LED Video Light. This little light can pop right out of your backpack and onto your camera when you just need that extra bit of light. For its size, it is also very bright at its highest brightness level, but the intensity can be turned down substantially if you only need to use it for fill light. The price is currently (with the battery) on Amazon, which made it a no-brainer for me to have it around all the time.
When our universities media team travels, two of these little guys are all we need to add enough light to a dim room to shoot some solid interview footage. It’s lightweight enough, that I generally keep it in my backpack for days I am vlogging (just in case).

If you can only buy one light, this is it.


Most of the time I supplement the budget lights I will discuss below with this light. I might even add another one to my studio light set up for a hair light soon. You can also buy a power cord if you want to plug it in.
Budget Studio Lights
While the Neewer light above is amazing, it’s not enough to really create a studio without using daylight or purchasing additional lights and because I was on a tight budget I couldn’t afford many more of those. So, for those of you who are trying to build a DIY studio with a limited budget, this is what worked well for me.
With the Neewer light mentioned above, I was able to add two more lights that I assembled from low-cost items you can pick up at your local Walmart.
This is the result:

This photo was taken with two lights I made out of these three items:
- Aluminum Clamp Light: $6.47 – This thing is what holds and reflects your light and it can be clamped anywhere. It’s not the most convenient option, but it gets the job done.
- Bright Daylight Balanced Bulb: $10.99 – This is the most expensive part of the whole set up, but it makes sense right? I specifically picked the bulb with the highest lumens (brightness), knowing I would need all the light I could get out of one bulb. This particular bulb has 1600 lumens, which is twice as bright as the usually $4 bulbs you usually buy.
- White Shower Cap: $1.96 – This is the secret sauce that ties this all together. The bulb and reflect create a light that is too harsh, so it needs something simple like this shower cap around it to diffuse (soften) the light.
All together, these three things cost me $19.42 (plus tax). To make two of them, the cost would be $40. I do use my Neewer light in the mix, so to achieve the same look you would need to purchase three of these light rigs for just under $60. This is still the cheapest set up I have been able to find that delivers a high-quality look.

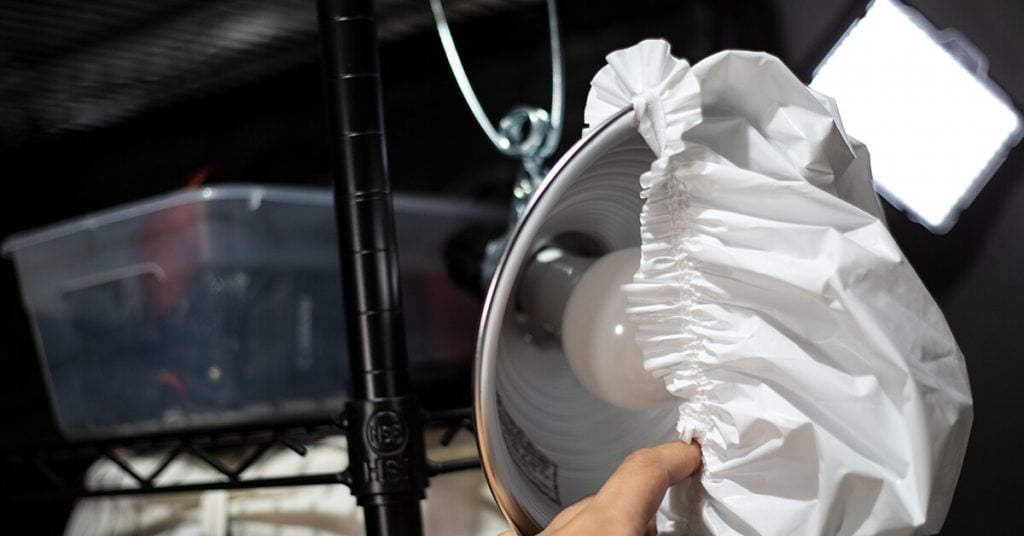

As you can see in the image above, you have to find things to clip the lamps onto to. This is one of the advantages I had building my studio in my back closet since all the shelves serve as scaffolding for my lights.
Prosumer Studio Lights
If you started doing the math of how much it costs to put together a few lights with the cheapest possible materials, you might be wondering if it is worth it. Truth be told, there is a light kit that will work better than the Walmart setup above for only an additional $10-15 bucks.
For $70, you can get a cheap light kit from Neewer on Amazon. It comes with everything you need to get started. Two lightbulbs, two light stands, two lamps, two soft boxes, and a carrying case. We use a similar light rig when we train our students on lighting since the set up is so easy to use.

Even with our Walmart build, Neewer still managed to put together a light kit at a comparable price. It’s a flimsy kit that you will have to treat gently, but it’s not like the Walmart build is sturdy either.
After working with a few videographers, I have also noticed that they will pull out some of those cheap clamp lights in addition to their professional light kits to light more specific elements of a set. So, if you start small and work your way up, you might find your previous lights coming in handy later.

Professional Studio Lights
Pro gear. Once you have used it, it’s hard to go back. Professional lighting gear is sturdy and full of little time-saving convinces that you wondered how you lived without. The struggle with low-light comes to an end here.
The problem is the cost. Most of the light kits we use for work run between $450 and $1,500 a kit and purchasing replacement bulbs can run as much as $35 a bulb (brightness comes at a price).
If you wanted to level up your game or simply start with the best I would recommend the Aputure Light Dome II with the Aputure Light Storm. You will also need to add a light stand separately. This is a great high-quality light that will perform over and over again.

The cost in time saved setting up this light up and having enough light production after production makes the cost worth it. This light will also last much longer than any of the cheap or prosumer lights on the market with continual usage.